- Home
- Plastic-Free Home
- Home Composting
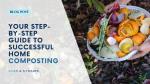
Your Step-by-Step Guide to Successful Home Composting

Have you ever looked at your overflowing trash can and wished there was a better way to dispose of kitchen scraps and yard waste? Well, there is! If you're considering composting at home, you're already on the right track.
Composting isn't just good for the environment (reducing waste and creating nutrient-rich soil), it's also surprisingly easy and adaptable to any living situation. The best part? There's a composting method perfectly suited to your space and lifestyle. This blog post will be your guide to achieving successful composting at home, turning those scraps into "black gold" for your garden!
What is Composting?
Composting is the natural process of recycling organic matter, such as leaves and food scraps, into a valuable fertilizer that can enrich soil and plants. This process is carried out by microorganisms that break down the material into a dark, crumbly substance known as compost. These microorganisms use carbon and nitrogen to grow and reproduce, water to digest materials, and oxygen to breathe.

You can easily compost at home using food scraps from your kitchen, along with dry leaves and woody materials from your yard. Here’s a step-by-step guide to help you get started.
Step 1: Choose a Home Composting Method
Choosing the right composting method is key to making your composting journey successful and enjoyable. Each method comes with its own perks and is tailored to different living situations. Here are the three most common methods:
1. Backyard Composting
Backyard composting is ideal for those with outdoor space. It involves creating a compost pile or using a compost bin, which can be placed in a corner of your yard or garden. This method is excellent for handling large volumes of waste, including yard clippings, leaves, and kitchen scraps.
Benefits:
- Large composting capacity: Perfect for those who generate a significant amount of organic waste.
- Ability to handle yard waste: Ideal for garden enthusiasts who need a way to recycle yard debris.
- Minimal equipment required: You can start with a simple pile or an inexpensive compost bin.
2. Vermicomposting
If you're living in an apartment or have limited space, vermicomposting is a game-changer. This method involves using red wiggler worms to transform organic waste into nutrient-rich worm castings right in your worm bin. It's a compact and efficient way to home compost that turns kitchen scraps into valuable fertilizer for your plants.
Benefits:
- Fast decomposition: Worms accelerate the composting process, producing compost more quickly than traditional methods.
- Nutrient-rich worm castings: The end product is incredibly rich in nutrients, making it an excellent fertilizer.
- Space-efficient: Worm bins are compact and can be kept indoors or on a balcony, making it ideal for small living spaces.
3. Bokashi Composting
Bokashi composting is suitable for indoor composting and uses a fermentation process to break down waste. This method employs a bokashi bucket and a special bran inoculated with beneficial microorganisms to ferment the waste. Unlike other methods, bokashi composting can handle all food scraps, including meat and dairy.
Benefits:
- Ability to compost all food scraps: You can compost meat, dairy, and cooked foods that are typically excluded from other composting methods.
- Odorless process: The fermentation process keeps odors to a minimum, making it ideal for indoor use.
- Quick composting cycle: Bokashi composting takes just a few weeks, after which the pre-compost can be buried in the soil to finish breaking down.
Step 2: Set Up Your Compost Bin
Once you’ve chosen your composting method, it’s time to set up your compost bin. Depending on your chosen method, here’s how to get started:
Backyard Composting
- Choose a convenient location with good drainage: Select a spot in your yard that receives partial sunlight and has good airflow. Ensure it's away from direct sunlight to prevent the compost from drying out too quickly.
- Choose between a compost bin or pile: Decide whether to use a compost bin for a neater appearance and easier maintenance, or simply create a compost pile directly on the ground.
- Ensure accessibility: Place your compost bin or pile in an easily accessible area. This makes it convenient to add new materials and turn the pile for aeration and decomposition.

Vermicomposting
- Obtain a worm bin and red wiggler worms: Purchase or create a specialized worm bin designed for vermicomposting. Red wiggler worms (Eisenia fetida) are commonly used for their efficient composting capabilities.
- Choose a suitable location: Place the worm bin indoors or in a sheltered outdoor area with moderate temperatures (around 55-77°F or 13-25°C). Avoid direct sunlight and extreme temperatures, which can harm the worms.
- Prepare bedding material: Line the bottom of the worm bin with moistened bedding material such as shredded newspaper, cardboard, or coconut coir. This provides a comfortable environment for the worms and helps maintain moisture levels.

Bokashi Composting
- Get a bokashi bucket and bokashi bran: Purchase a specialized airtight bokashi bucket designed for fermenting food waste. Bokashi bran, a mixture of beneficial microorganisms, is used to aid in fermentation.
- Choose an indoor location: Place the bokashi bucket in a convenient spot indoors, such as under the kitchen sink or in a pantry. Ensure it's easily accessible for daily use.
- Layer food scraps and bokashi bran: Add food scraps to the bokashi bucket in layers, sprinkling each layer with bokashi bran. Compress the layers to remove air and seal the bucket tightly after each use to initiate the fermentation process.
 Photo © https://bokashiliving.com/
Step 3: Collect Compostable Materials
To maintain a healthy and balanced compost pile, it's important to gather a diverse mix of compostable materials. Here’s a detailed guide to the types of materials you can use:

Additional Tips:
- Balance: Aim for a mix of roughly 2 parts browns to 1 part greens by volume to maintain proper decomposition.
- Avoid: Refrain from adding meat, dairy, and oily foods unless using bokashi composting, as these can attract pests and cause unpleasant odors.
By collecting a variety of greens and browns, you can create a nutrient-rich compost that enhances soil fertility and supports healthy plant growth in your garden or landscape.
Step 4: Maintain Your Compost
Proper maintenance is crucial to ensure that your home composting process is effective and efficient. Here’s how to maintain different composting methods:
Backyard Composting:
- Aerate the pile to distribute oxygen and speed up decomposition. Use a pitchfork or compost aerator to turn the pile (around once a week during summer and at minimum once every three to four weeks during winter.)
- Moisture helps microorganisms break down materials. Water the pile occasionally to maintain a damp, sponge-like consistency. Avoid over-watering to prevent anaerobic conditions and odors.
Vermicomposting:
- Check the bedding regularly to ensure it's moist and add food scraps gradually. Maintain a balance of food, moisture, and aeration for optimal worm activity.
- Too much food can overwhelm the worms and cause odor issues. Add food in small amounts and monitor the bin's temperature and moisture levels.
Bokashi Composting:
- Layer food scraps with bokashi bran in the bucket, compressing each layer to remove air. Seal the bucket tightly after each use to promote fermentation.
- Drain the liquid from the bucket's spigot every few days to prevent buildup. Dilute and use the liquid as a nutrient-rich fertilizer for plants.
Additional home composting Tips:
- Regularly check the temperature, moisture levels, and odor of your compost to ensure it's progressing well.
- Make adjustments as needed to maintain optimal conditions for decomposition and to avoid issues such as pests or excessive odor.
Step 5: Harvest and Use Your Compost
After patiently nurturing your compost pile or bin for several months, it's time to reap the rewards of your efforts.
Signs of Ready Compost
Knowing when your compost is ready is key to maximizing its benefits:
- Dark, crumbly texture: The compost should have broken down into a fine, crumbly texture that resembles soil.
- Earthy smell: A pleasant, earthy aroma indicates that the organic matter has decomposed properly.
- No recognizable food scraps: The compost should no longer contain identifiable pieces of food, indicating thorough decomposition.
Using Your Finished Compost
Once your compost meets these criteria, it's ready to be put to good use:
- Garden and Flower Beds: Incorporate compost into garden soil or flower beds to improve soil structure, fertility, and water retention. It provides essential nutrients and beneficial microorganisms that promote plant health and growth.
- Indoor Plants: Use compost as a nutrient-rich addition to potting mixes for indoor plants. It enhances soil health and reduces the need for synthetic fertilizers.
- Top Dressing for Lawns: Apply a thin layer of compost over your lawn to improve soil health, enhance grass growth, and reduce thatch buildup.
- Potting Mixes: Mix compost with other materials to create custom potting mixes that provide nutrients and improve drainage for container plants.
Starting composting at home is not just about managing waste — it's a fulfilling way to make a positive impact on our environment. No matter if you have a big backyard, a cozy apartment, or a small indoor space, there's a composting method that's perfect for you. By following these steps, you'll soon be creating nutrient-rich compost that will nourish your plants and help the planet. Happy composting!
You might Also like
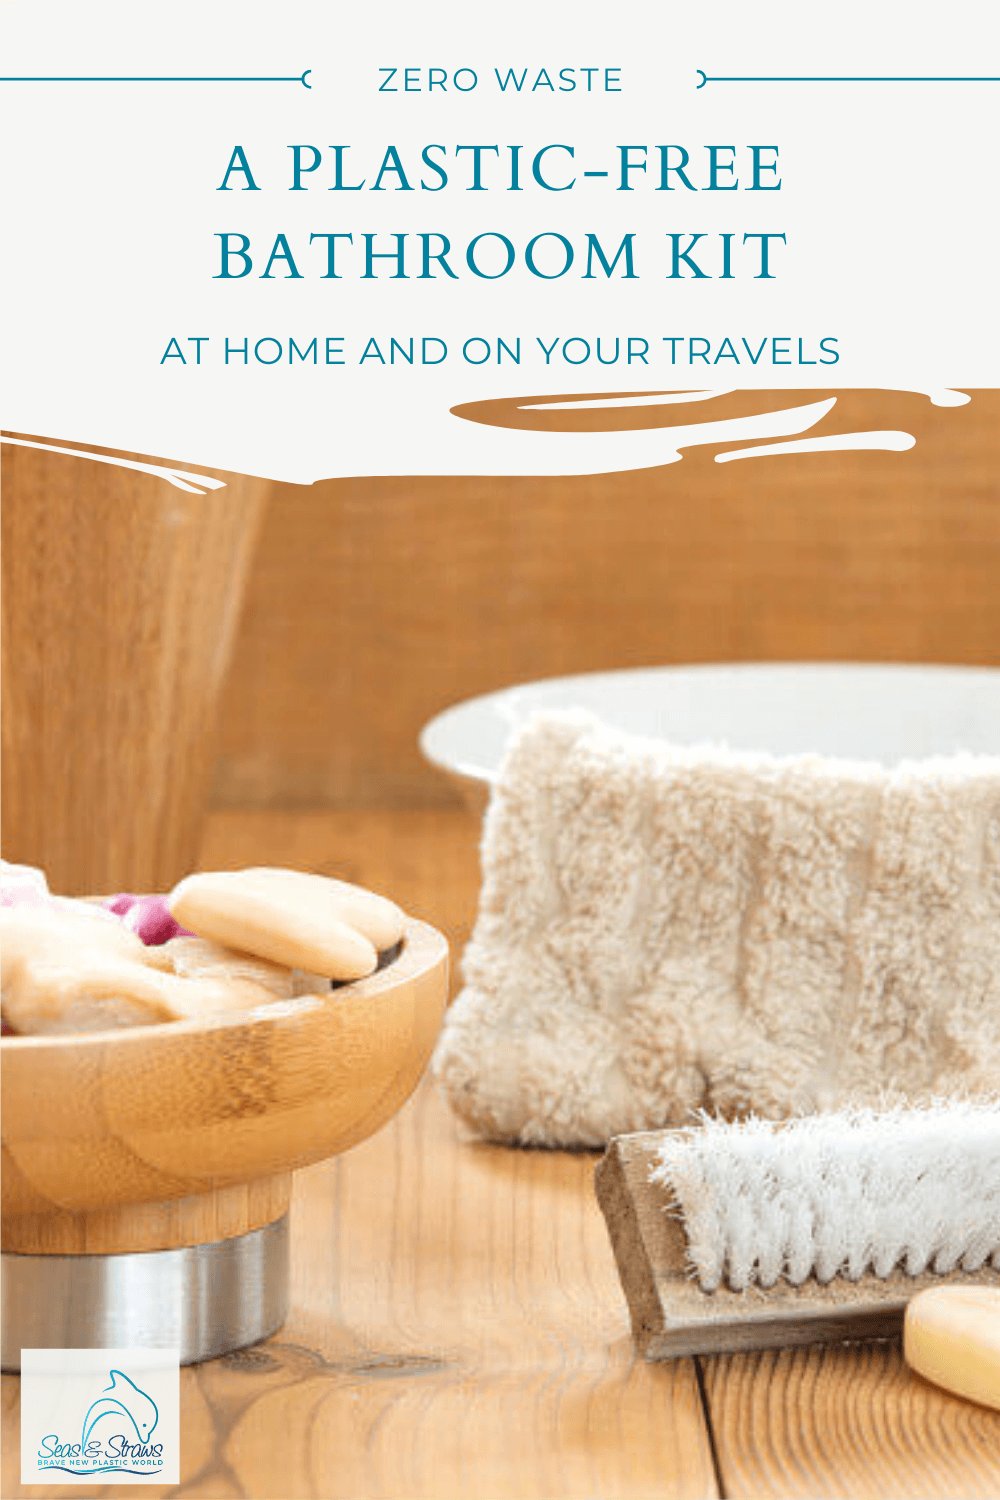
A plastic free bathroom kit at home and on your travels
A plastic free bathroom not only saves lots of packaging and money, it also looks clean and stylish.
Go Plastic-Free This July With These Easy-To-Adopt Activities
Plastic-free July is here! These easy-to adopt activities will help you become plastic-free in no time.
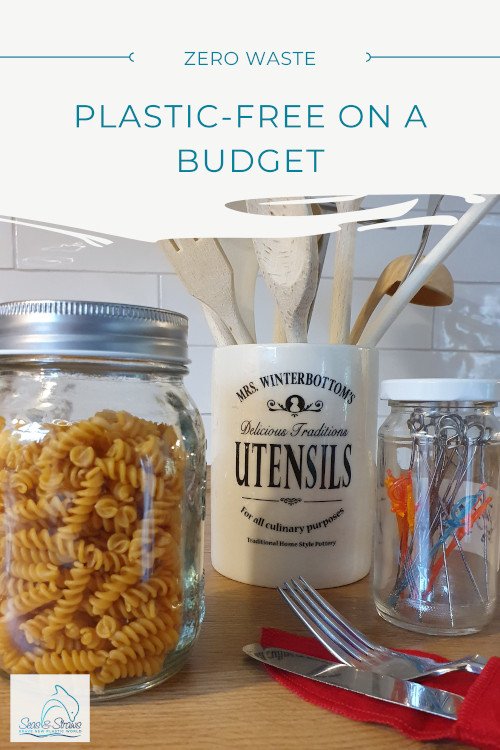
Plastic Free On A Budget
Living plastic free also works on a budget. Here are the best tips and tricks on saving money while ditching single-use plastic.


FOR HOTELS
I created a comprehensive, 19-page e-book about how going green boosts your hotel's brand, bookings and revenue. This e-book is packed with all the research and data to demonstrate that going plastic-free is the most impactful way to boost your unique value proposition, attract the eco-conscious, high-paying traveler and double your profits. Click on the image below and get it now - FREE!

Recent Articles
-
How to Track and Measure Your Plastic Waste and Why It's Important
Feb 08, 25 12:00 PM
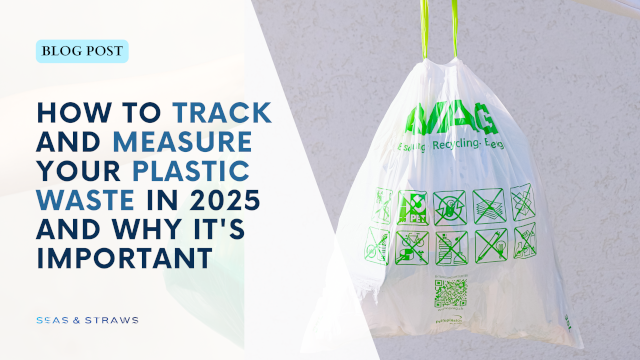 By 2025, sustainability is more important than ever, with plastic waste being a key issue. Time to track your plastic waste.
 -
The Future of Sustainable Hospitality
Oct 15, 24 05:03 PM
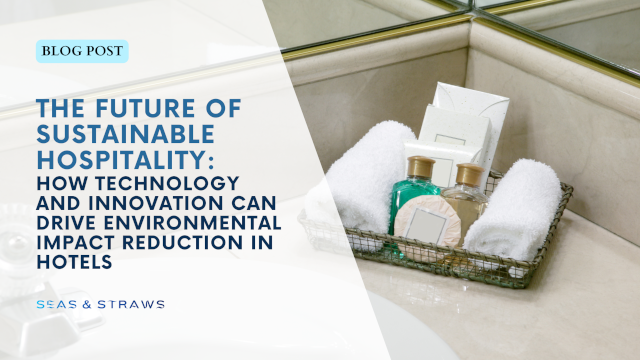 The future of sustainable hospitality lies in leveraging cutting-edge technology and innovative practices to minimize carbon emissions, conserve resources, and promote eco-friendly operations within t…
 -
Your Step-by-Step Guide to Successful Home Composting
Sep 02, 24 05:53 AM
 Home Composting isn't just great for the environment and significantly reduces your waste tally, it's also surprisingly easy to accomplish. Here's a step-by-step guide to successful home composting.
Sponsors and Partners


A lot of money and research hours go into this website. Together we can keep it up and running and push single-use plastic out of our lives.
Get your weekly planner
Plastic-Free Through the Year
Week By Week To A Life Without Plastic

Join the tribe!
Ready to become part of the global plastic-free movement? Sign up for my free monthly newsletter with fresh ideas, downloadable materials and lots of inspiration on reducing your single-use plastic waste.
Disclosure: Some links on this website are affiliate links. If you make a purchase through one of them, I may receive a small commission. There is no additional cost to you.
Join The Tribe!

Ready to become part of the global zero waste movement? Sign up for my free monthly newsletter with fresh ideas, downloadable materials and lots of inspiration for reducing your single-use plastic waste. Make your home, your office or hotel zero waste, lead a healthier life, and save tons of money in the process!
Bonus: Get this free 2-page checklist (one of many) with lots of tips on how to make your bathroom plastic-free and zero waste instantly. Concise, easy to use, and ready for immediate implementation.
Bonus #2: for a limited time, I'm giving away my weekly planner "Plastic-Free Through the Year" with invaluable ideas how you can reduce plastic right away. Sign up for my free newsletter and download the planner now - free!
"Yes, sign me up to receive my free monthly newsletter Seas & Straws Spotlight!"*